Many assistants and industry veterans will tell you that investing in your business starts with hiring a professional photographer—often before you’ve even seen your first client. But if you’re just starting out and working with a tight budget like I was, I wrote this guide specifically for you.
When I first started freestyling in college, I had to figure out how to take high-quality photos without hiring a photographer (for a multitude of reasons). Using the exact method I’m about to share, I was able to capture professional-looking images on my own, which later helped me afford more professional shoots as my business grew and flourished.
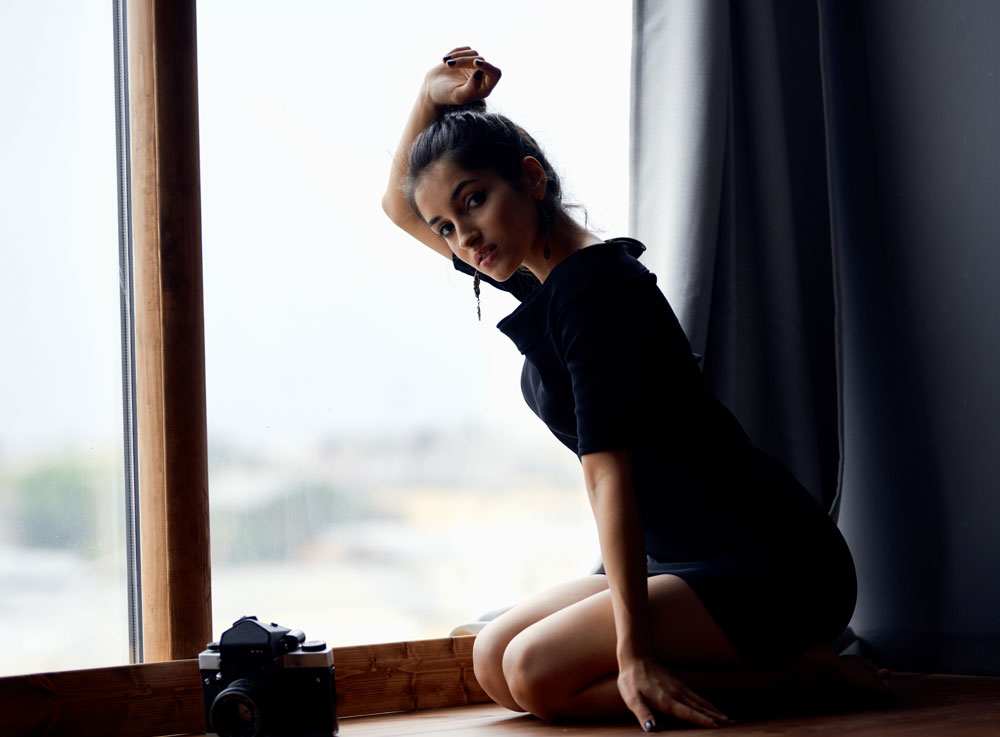
Step 1: Find a Photography Studio with Natural Light
Look for photography rental studios in your city. Check their Instagram or website to make sure the space aligns with your aesthetic. The most important factor is natural light. A studio with large windows and plenty of sunlight will instantly elevate the quality of your photos.
Pro tip: Call ahead to confirm the lighting conditions.
Cost: $50–$90 per hour, depending on location.
Booking time: One hour for a few outfit changes; two hours for more variety.
Step 2: Get a Tripod and Set Up Your Camera
A tripod is a must. Amazon has plenty of affordable options. If you have a newer iPhone or Samsung, your camera is already high-quality, but optimizing the settings can make a big difference.
Look up tutorials on YouTube about adjusting your camera settings for the best lighting, sharpness, and image quality.
Step 3: Use a Self-Timer App for Hands-Free Photos
Apps like Lens Buddy take multiple photos at set intervals, allowing you to pose naturally without constantly resetting the timer.
Experiment with angles and movement to create more dynamic shots.
Step 4: Edit Without Overdoing It
Editing should enhance—not completely alter—your look. These tools can help:
- Facetune – Smooths blemishes, refines makeup, and makes small adjustments.
- Peachy – Blurs the face if anonymity is a priority.
- Golden Hour Filters – Adds subtle warmth and depth to images..
Avoid over-editing. It’s noticeable and can set unrealistic expectations. Keep your adjustments minimal for the most natural look.
Step 5: Pose, Props, and Aesthetic Adjustments
Lighting matters: Schedule your shoot during golden hour for softer, more flattering light. Pose with intention: Choose a studio with settings that match your brand.
Take plenty of shots: Aim for 100–200 photos to ensure you have 20 or more solid options. Wear outfits that highlight your best features.
Use props: Roses, champagne bottles, or silk sheets can add an extra touch of elegance.
Boost your lighting: If needed, invest in an LED selfie light for better illumination.
Pre-shoot tip: Avoid heavy meals before shooting if you want a more defined silhouette—or use Facetune for minor refinements.
Final Thoughts
With the right planning, you can capture professional-quality photos on a budget. Renting a studio, using natural light, and editing strategically will help you achieve stunning results at a fraction of the cost. This method worked for me, and it has worked for many others I’ve helped along the way.
Once you have the budget for an experienced photographer with a keen eye, go for it—but until then, this approach will serve you well!